
What is Open Kitchen?
Stratford Chefs School offers a wide variety of recreational Open Kitchen Cooking Classes for the public at the School’s professional kitchens for enthusiastic home cooks, keen children and their parents, and those seeking to refine their skills in a specific culinary area. Classes are offered in the off-season, from March through early October with Chef Instructor Eli Silverthorne. While in-person, hands-on training is always the best option, we’re happy to share some quick Open Kitchen video tips for you to try at home, starting with Pizza Dough! Mangia!
Learn How to Make Slow Ferment Pizza Dough
Everyone loves pizza, and it’s fun to make your own! in this short video demonstration, Stratford Chefs School Instructor and Open Kitchen Program Manager Eli Silverthorne demonstrates and explains how to make your own pizza dough at home. Review the recipes and written instructions below, and then watch the video demo, which can be paused at any time as needed.
Chef Eli’s Video Demonstration

Recipe and Written Instructions
Follow the written instructions below and watch Chef Eli’s video demonstration to learn how to make your own slow ferment pizza dough at home.
SLOW FERMENT PIZZA DOUGH
Tools Required
Large plastic bench scraper
Scale
Stand mixer
Proof container
Bake sheet
Hot oven
Saran Wrap
Wooden spoon
Dough hook
Large bag
Fridge space
Pizza peel
Notes:
A preferment is a preparation of a portion of a bread dough that is made several hours or more in advance of mixing the final dough. A poolish is a preferment used to build extra flavour and extra acidity in the dough.
Follow the times as an estimate; they are based on a Desired Dough Temperature (DDT) of approximately 76F.
If your bread is cooler than 76F it will take longer, if it is warmer than 76F it will ferment more quickly. Slow fermentation in fridge develops flavour.
Poolish – Preferment
250g All Purpose (AP) flour
250g Water
Pinch yeast
Final Dough
1kg Bread Flour
8g Instant Yeast
26g Salt
10g Corn meal
ALL Poolish
650g Water 80F
45g herb oil
METHODOLOGY
STEP 1 – Making a Poolish
Combine water, flour, yeast in a bowl – then transfer to a narrow (i.e. tall and not wide) vessel with room to grow (upward).
Lightly cover in saran wrap to prevent excess drying out; allow culture to develop as a preferment 12-16hrs in a cool place (70F)
STEP 2 – Mixing
In stand mixer with dough hook place flour, yeast, salt, cornmeal, all the poolish.
Measure water to 80F temp, then measure 650g in the used/spent poolish container
— add this water to the mixing bowl with everything else, except the oil.
Mix on low speed (2 at home) 3 mins (adjusting moisture levels with additional
water (if dry) or flour (if wet) – so dough hook barely lifts dough from bowl base — —
— then increase to speed 2 (3-4 at home) for 2-3 mins as you slowly add infused oil
Check dough temperature and consistency: Desired Dough Temperature = 76F.
— Place, loosely covered in warm or cold environment depending on its temperature, and allow to bulk ferment for 1.5hrs (folding twice at 30 & 60 min mark, done at 90)
STEP 3 – Bulk Ferment
Total 90 minutes with two folds (at 30 and 60 min marks)
STEP 4 – Divide
Cut don’t tear. Using a bench scraper cut the dough into (x12) 190g pieces;
Transfer measured/cut dough on to lightly floured surface, keep covered with a food/bread bag
Working one at a time on a minimally floured surface, make the classic boule shape using tiger claw method (demo). This will expel air out and tighten gluten before resting in fridge.

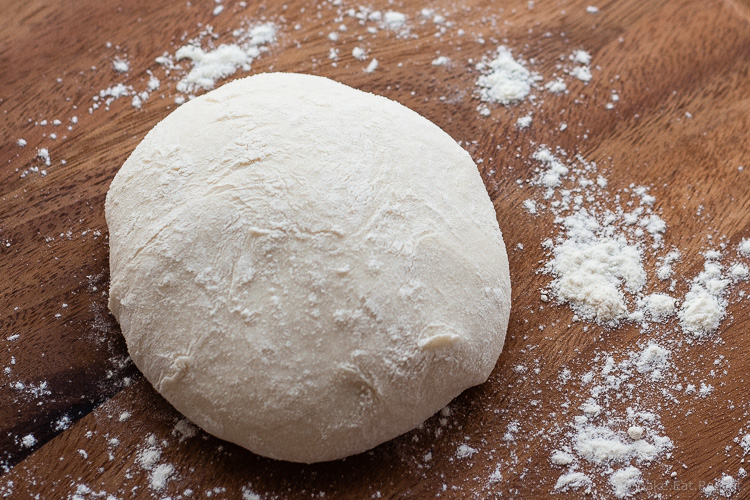
STEP 5 – Secondary Proofing
TWO OPTIONS
OPTION 1 – use right away – by rolling the shaped dough and topping and baking as
desired (this will be a denser / tougher dough as gluten is tense)
OPTION 2 – retard covered in fridge 4-36 hours; this will be a better hydrated,
more relaxed, easier to work with dough; with optimal flavour development. If doing option 2, brush a parchment lined tray lightly with herbed oil.
-Space boules on to oiled parchment approx 6” apart, then dab tops of each boule lightly in herbed oil
Cover in plastic & retard in fridge 4-48hrs
STEP 6 – Preheating Oven
Option 1 = still (standard) home oven – 500F (12-14 mins)
Option 2 = convection (forced air) oven – 445F (half fan) (7-11 mins)
Option 3 = Deck/bread oven – 265C (509F) (4-8.5 mins)
Remember, if you are using a pizza stone, start in cold oven and raise in temp
STEP #7 – Tempering the pizza boules
Remove pizzas boules from fridge 15 minutes prior to use
STEP #8 – Shaping the pizza dough
TWO OPTIONS
OPTION 1 – Shape pizza dough with hands (as per demo)
OPTION 2 – using a rolling pin on a lightly floured surface

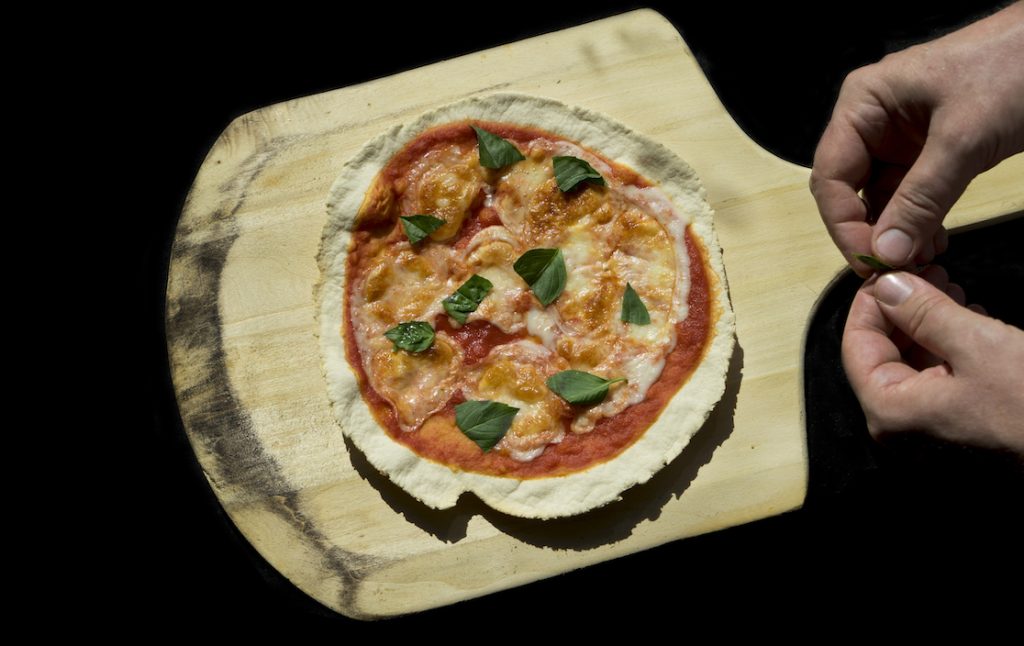
STEP #9 – Topping the pizza
Once sufficiently thin, dust a cutting board or pizza peel with cornmeal. Carefully place dough on top of cornmeal, shimmy slightly to prevent from sticking to the peel
Top dough lightly with with desired sauce, starting in centre then spreading towards
the edges with the base of a spoon – keeping a 1-1.5” border around the edges
Once sauced top lightly with grated cheese then topping, then light cheese again.
Be sure to shimmy on floured peel after sauce, after adding toppings, and before oven.
STEP #10 – Baking the pizza
Slide into 500F oven – bake 6-8mins or till desired doneness. Cool on a trivet or cooling rack slightly, before slicing into wedged triangles.
BUON APPETITO!
MORE INFORMATION
Learn more about our Open Kitchen recreational cooking classes.
Learn more about our Enriched Cook Apprenticeship 32 week program.